October 3, 2020

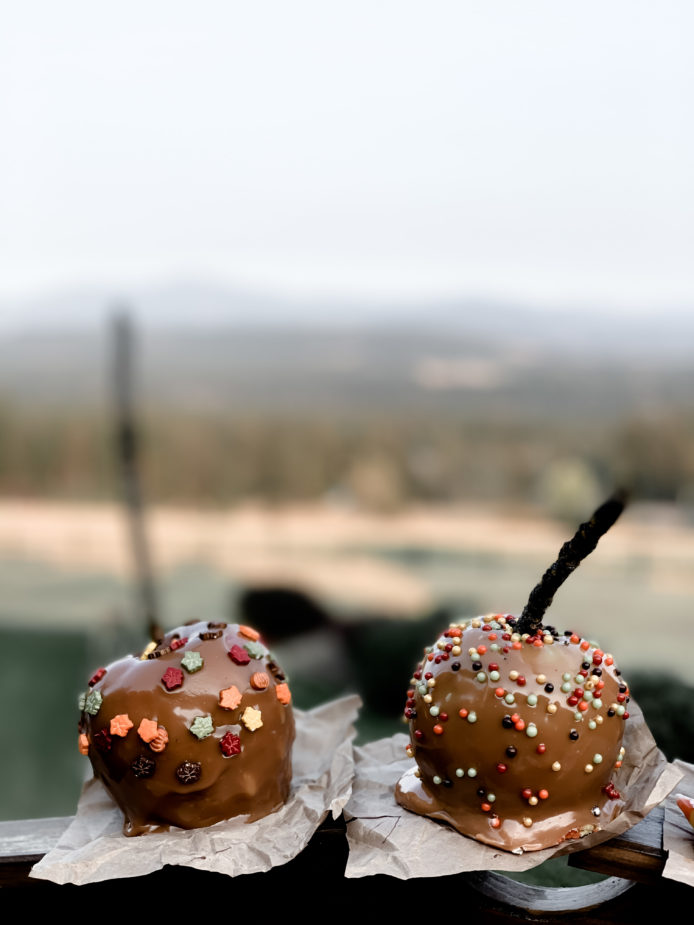
Is there anything better in the fall than homemade caramel apples? Every year I love picking our local Jonagold apples from Hansen’s Orchard on Greenbluff and covering them with the best caramel I’ve found: Peter’s Caramel.
Living in the Inland Northwest where we are famous for our apples, I’ve worked at perfecting the caramel apple craft for years. I’ve tried a thin coat, thick coat, homemade caramel, store bought caramel, various varieties of apple… I’ve tried it all.
This blog post is the best of my caramel apple game, friends.
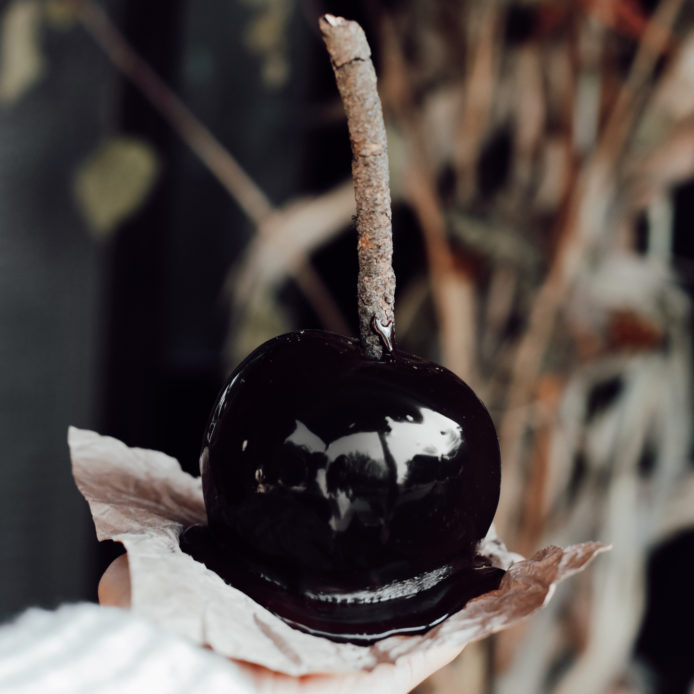
Modern Farmhouse caramel apples
We also painted our house black this year, using the modern farmhouse trend as inspiration! So I’m transferring that concept to the apples this year to a few of the apples. I like some caramel color and some black.
But first things first….
Steps to the perfect caramel apple
1. Choose the best caramel
The caramel we choose makes or breaks the apple. There is one caramel superior to all the rest: Peter’s Caramel.
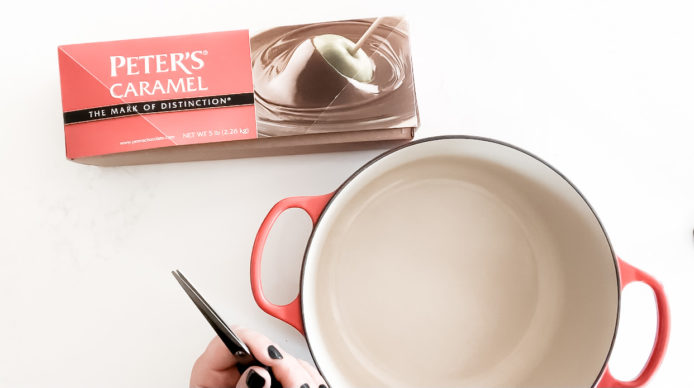
Here is why I love it:
- it comes in a 5 lb block so here is no unwrapping of tiny squares for hours
- you can melt this caramel right in the oven (or a double boiler if you choose)
- it tastes amazing and has the perfect consistency
- it tastes better than trying to make caramel from corn syrup on the stove and is much easier
You can use any you have left over for drizzling on apple pie, ice cream, or to eat straight out of the box (my kids prefer this way). The caramel lasts a long time at room temperature.
2. Pair with a tart Apple
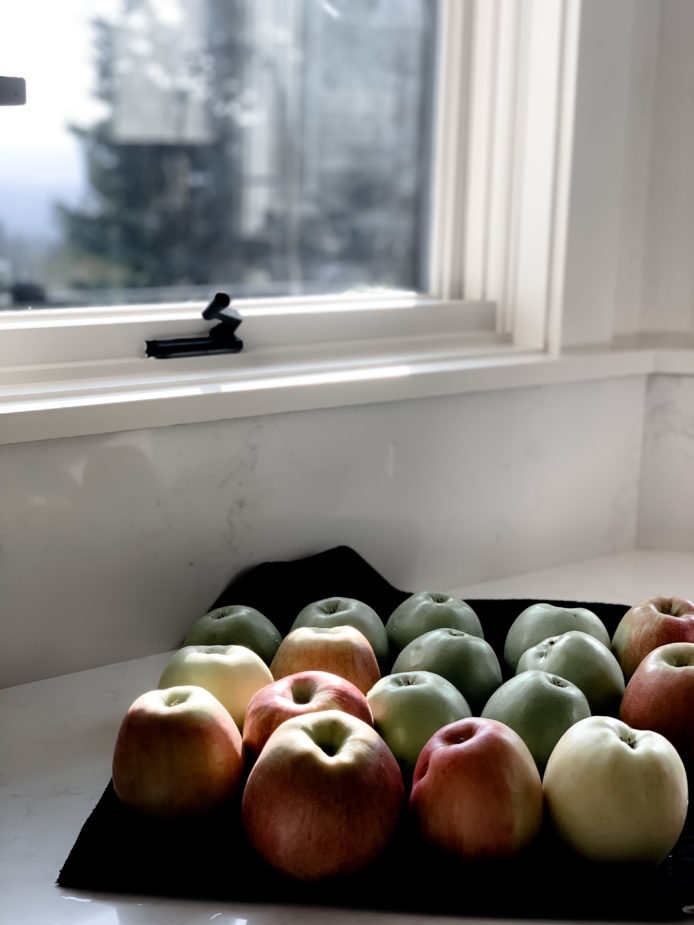
The magic to a perfect caramel apple is the sweet / tart contrast. You MUST have a tart apple! Here are my favorite tart varieties:
- Granny Smith
- Jonagold
- Pink Lady
- McIntosh
- Empire
- Cortland
It is better if the apples are straight from the farms because they taste better and they don’t have wax over the top, which makes it hard for the caramel to stick.
If you do buy apples from the grocery store, remove the wax by cleaning the exterior of the apple with apple cider vinegar, or a mixture of 1 tbsp. lemon and 1 tbsp. baking soda. Rinse and let dry.
The apples should be cool and totally dry before dipping.
3. Create a dipping station with toppings and have it ready
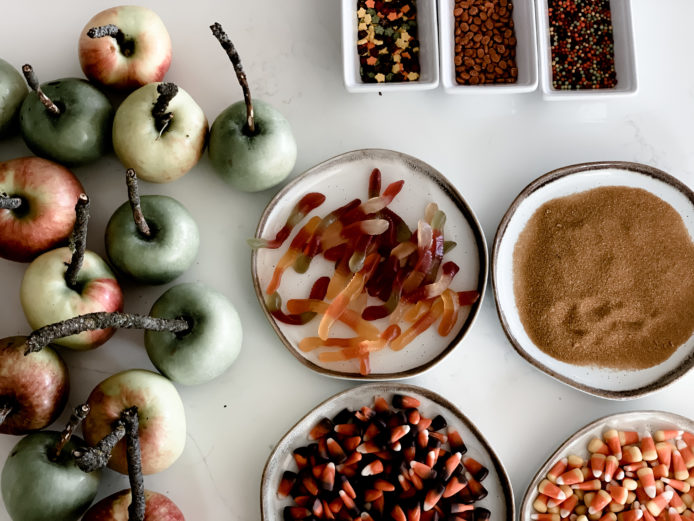
Once the apples are dipped, they cool fairly quickly. It is best to have the caramel apple dipping station set up before you remove the caramel from the oven.
- wrap parchment paper onto a tray or baking sheet for dipped apples (spray parchment with cooking spray)
- have toppings in bowls, ready to use right after dipping
- have the sticks placed in the washed and dried apples
- for sticks I like using natural twigs and whittling the ends to sharp points
4. Dip the apples and store correctly
Dip each apple in the melted caramel and cover with a spoon (see video for technique).
After the apples are dipped and topped, store them in the refrigerator for 20 minutes to harden then they are ready for serving.
When storing dipped apples that will not be eaten right away, put in the refrigerator up to three days.
For gifting, I like these boxes. You can leave the top of the box open until you are ready to tie it with a bow and deliver it. Leaving the top open minimizes condensation. Cellophone bags work for this as well.
Pin the image below to save the recipe for later!

I made these last year with my family and they were the BEST caramel apples I’ve ever had! We are going to do this as a MOPS craft this year. How many apples do you think you can cover per 5 pound block of caramel?
Hi Shannon – awesome! Love that. It’s hard to say. Size of apples varies greatly. I would guess plan for 15 per block? Again – guessing here! I’ve never counted. Let me know how it goes. Tag me on Instagram if you post a picture – I want to see!
[…] caramel apples […]
Comments