September 24, 2020
Fall is my favorite season. I love everything about it. The more pumpkins the better.
At the end of the season last year I bought some pumpkins at Hobby Lobby that no one else wanted. They were the last ones on the clearance rack for a reason.
But have no fear strange orange pumpkins…. I have big plans for you!
While I love the faux white pumpkins that Pottery Barn has every year, I do not love the price tag. I figured with a little spray paint and a technique I use for flower pots, I could transform these Hobby Lobby pumpkins into Pottery Barn inspired beauties.
If you have some faux pumpkins lying around that could use some new life, or if you see some cheap pumpkins on the clearance rack this year, dive in with me!
Materials Needed:
- A faux pumpkin
- Rust-Oleum 2x Spray Paint (choose a soft white or mix a couple of neutrals)
- Dirt
- A sponge brush
- Black, dark brown, or bronze craft paint
- Glue for the stem (optional)
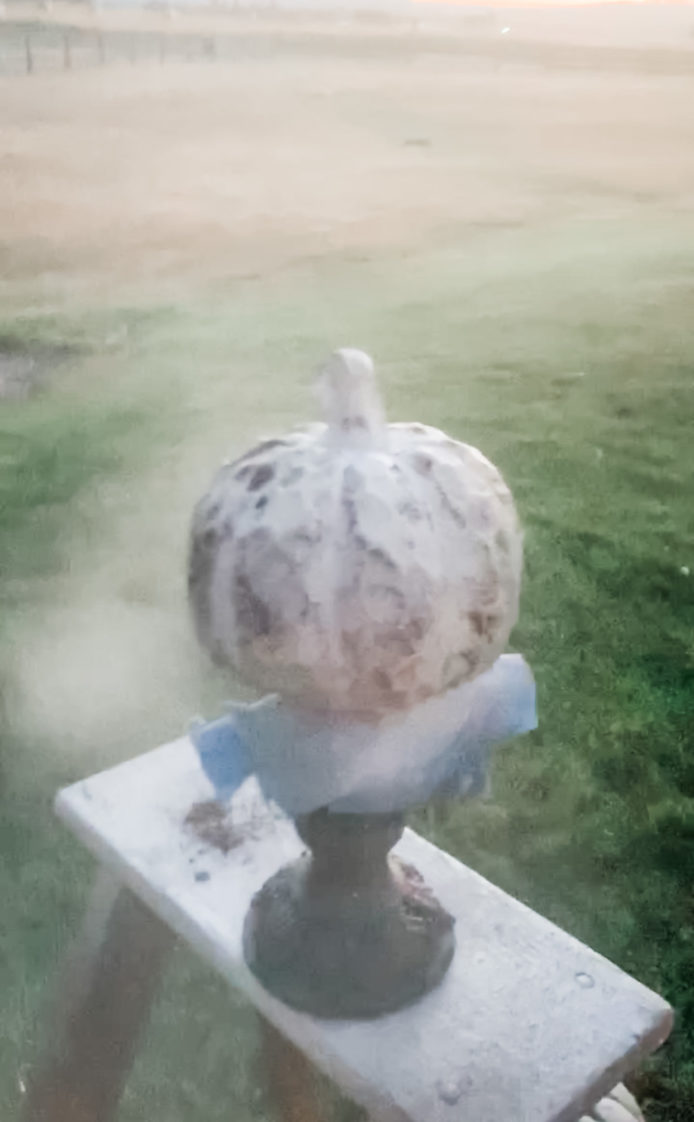
Step 1: Paint the Faux Pumpkin White

Paint the faux pumpkin with a primer + paint in one. I like Rust-Oleums 2x Spray Paint. They have a color called Heirloom White that is soft. I also use Rust-Oleums Chalked Linen White, which is a chalk paint, but it is very white. I had to tone down the color with other paints.
I find that spraying a couple of different paints on the pumpkins in varying colors of white / beige adds the most interest and doesn’t make them too stark white. I try and use what I have on hand.
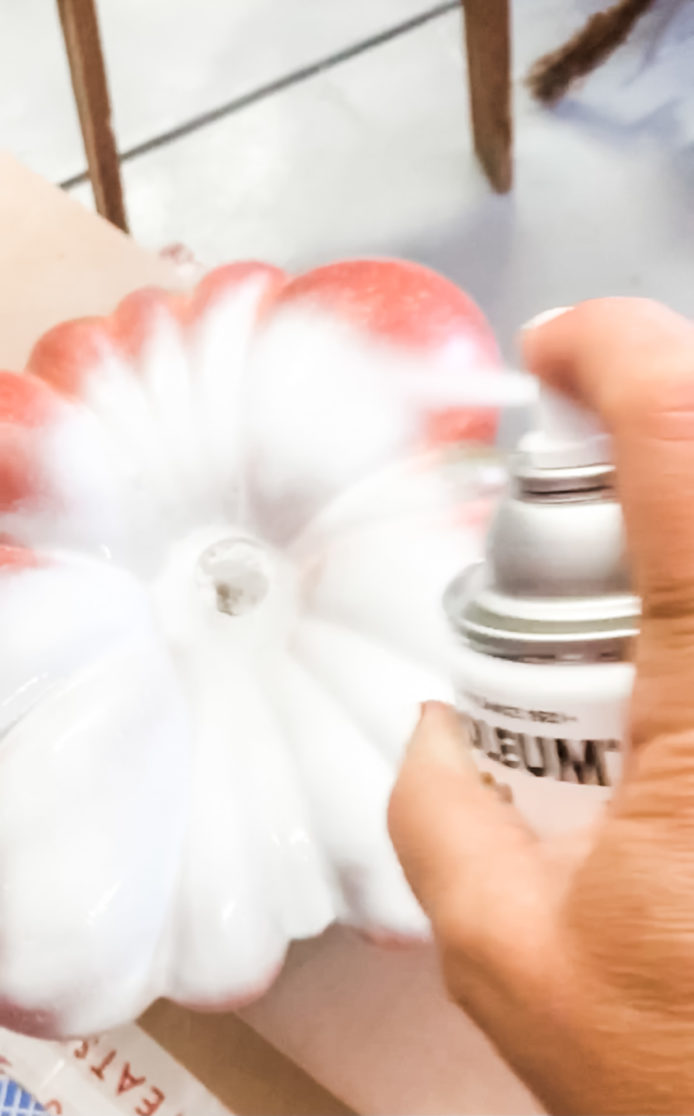
I remove the stem before I paint and glue it back in at the end. Use painter’s tape to cover the stem if you don’t remove it.
You could end the tutorial here if you don’t like more rustic, realistic looking pumpkins, but I think they look much more natural if you keep going!
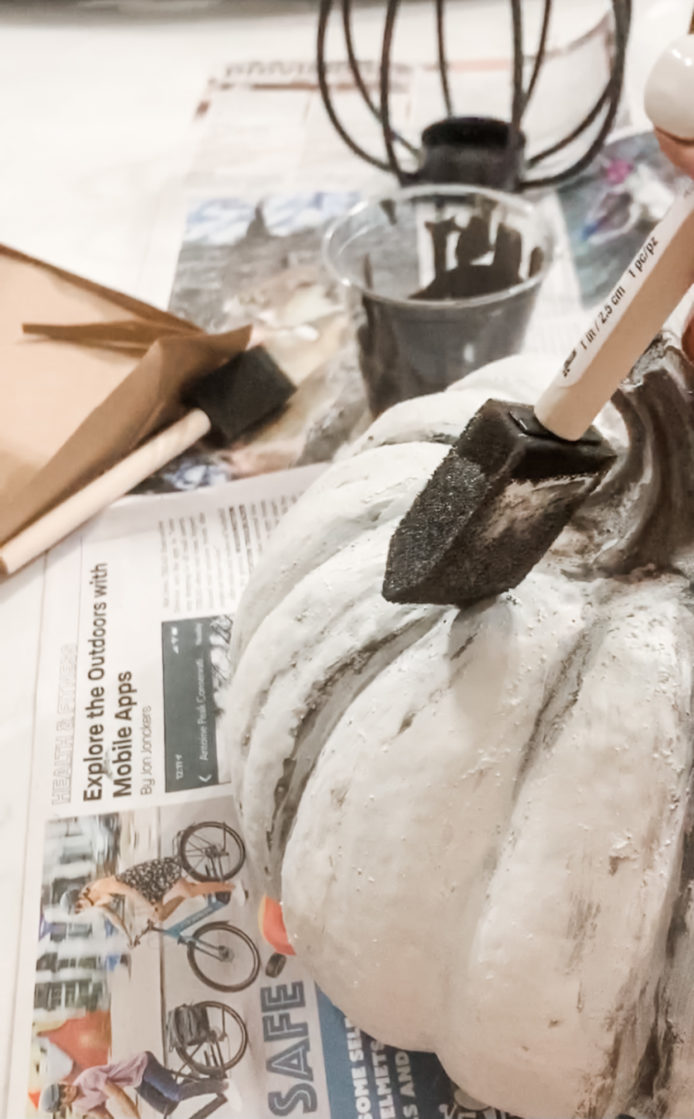
Step 2: Make A Thick Mud With Dirt & Rub It Unevenly Over The Pumpkins
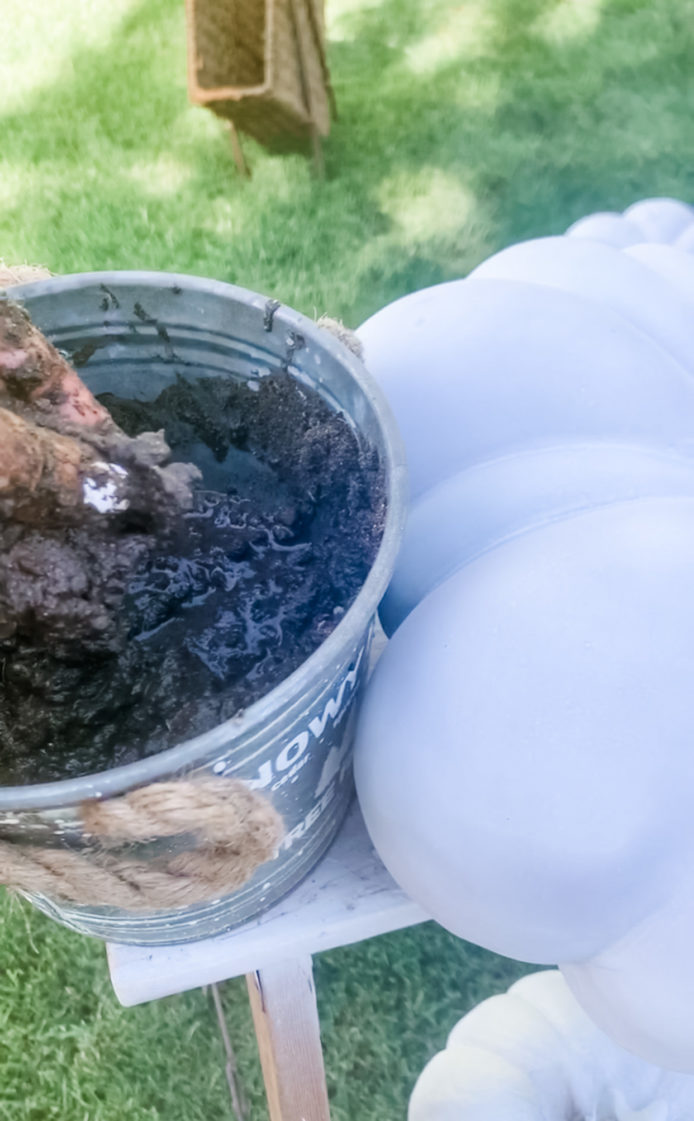
This is a technique I use with flower pots to make them look old. It adds so much texture and looks beautiful! Trust me – I know it sounds strange to add dirt to something, but it really does make it look more real and authentic.
Let the mud dry completely before moving to the next step.
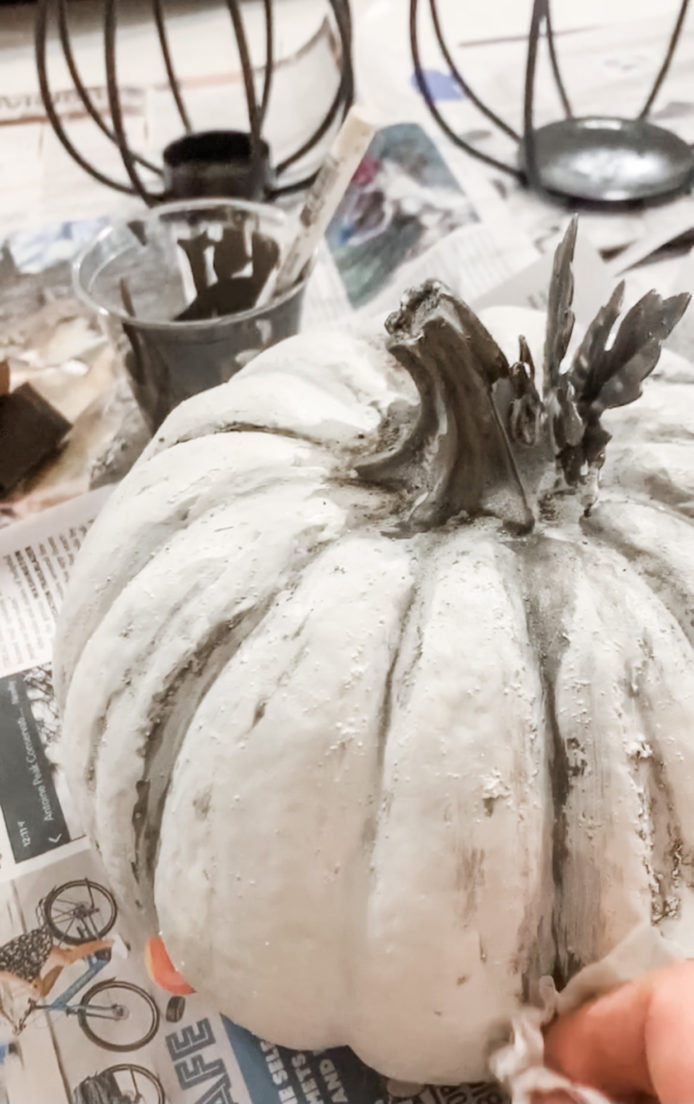
Step 3: Gently Wipe The Dried Mud And Remove Loose Bits
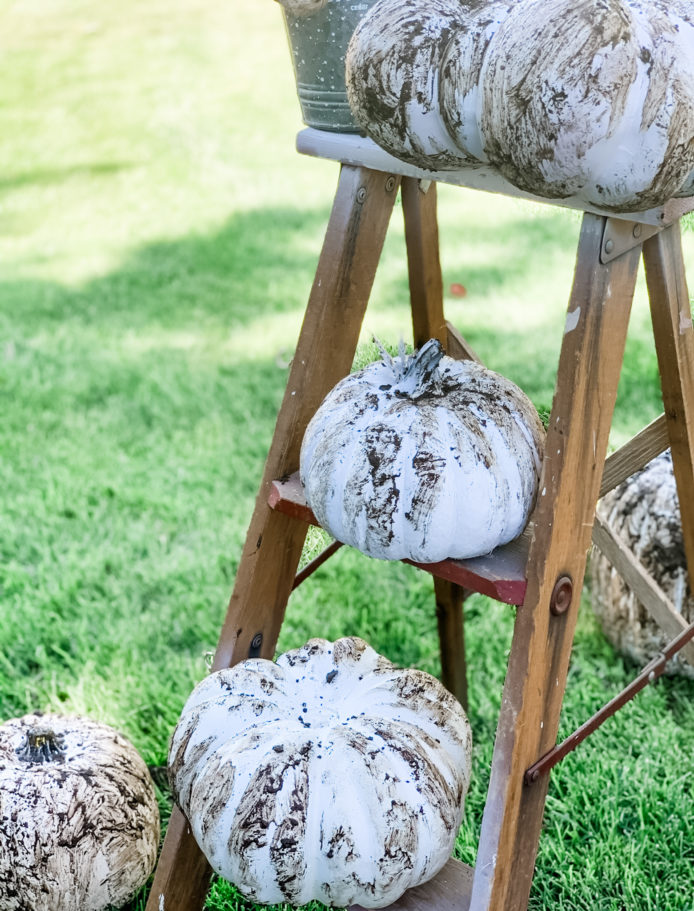
This is an artistic process. Some areas I like more mud left on than others. It is supposed to look uneven. This picture shows the pumpkins before I wiped them off. You can see the uneven application of the mud.
Step 4: Lightly Spray More Paint Over the Mud
Spray a very light, uneven coat of white over the dried mud. Stand back and just lightly spray. You don’t want to cover up all of the mud.
I had a Rust-Oleum Stone Spray Paint in a stone color on hand, so I lightly sprayed that on as well for even more texture. This is very optional.
Let dry completely.
Step 5: Paint a strip of dark paint in the creases
This is an optional step, but it looks great. Paint unevenly in the creases of the pumpkins in an uneven pattern. Don’t do every crease, and don’t do the same length in each one. Mix it up. Do a short line on one crease, then a top to bottom line in another. You can use a black paint, dark brown, or a bronze.
Step 6: Wipe/Smooth the paint with a paper towel so it looks natural
Wipe off the crease paint with a rag or paper towel to make it look natural.
Step 6: Glue Your Stem Back On If Necessary
If you took your stem off, use Gorilla Glue or a glue gun and glue the stem back onto your pumpkin.
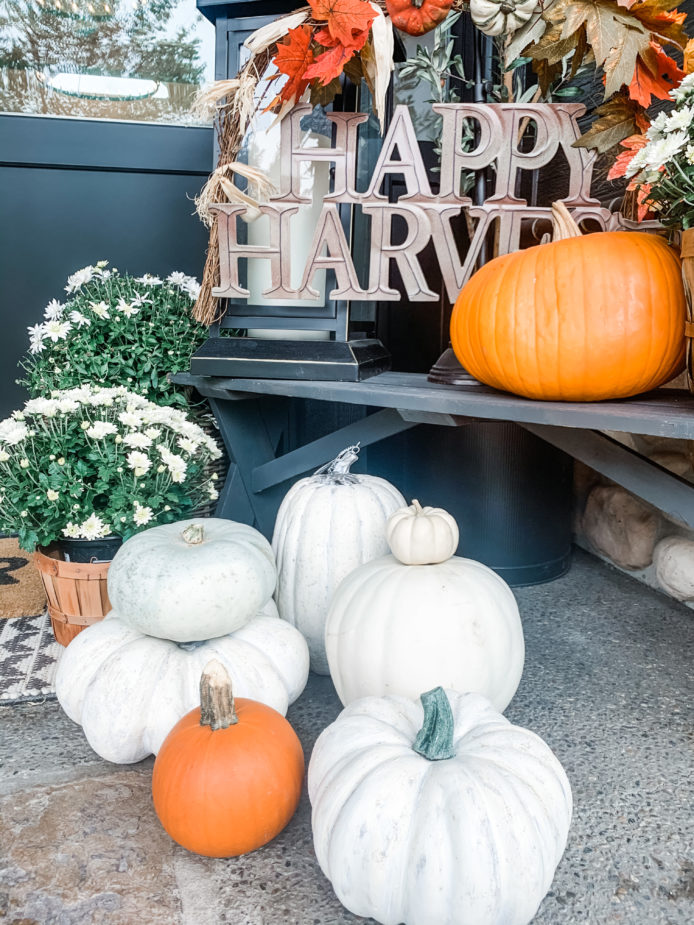
Step 7: Stand back and admire your work
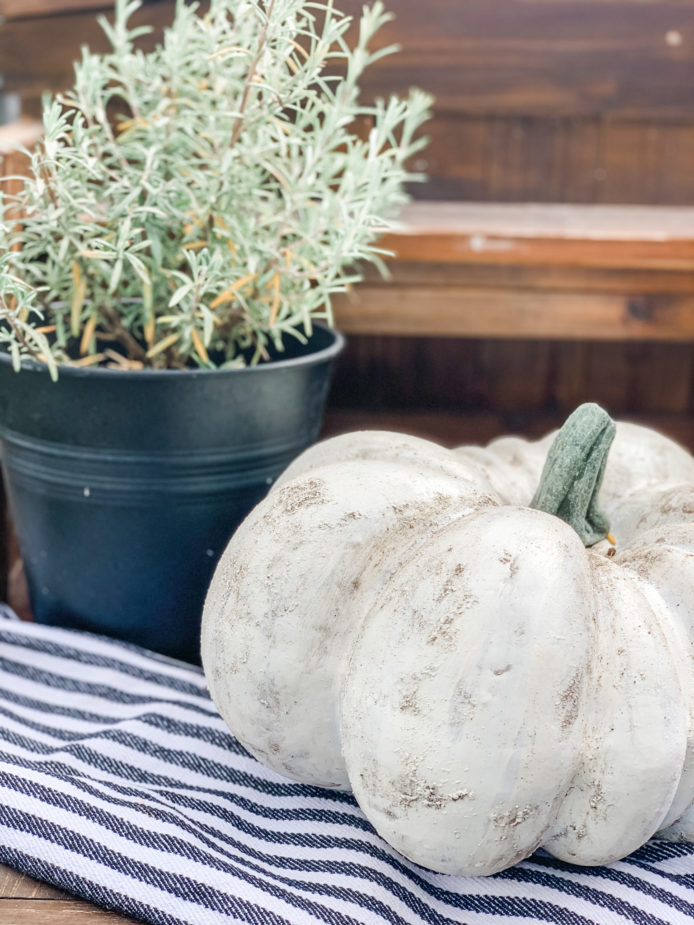
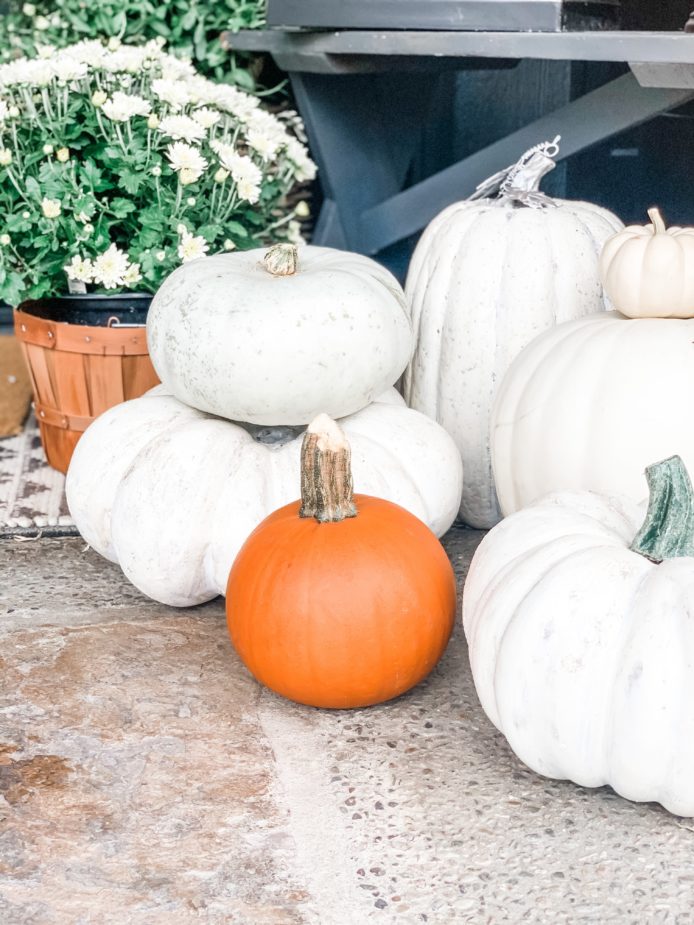
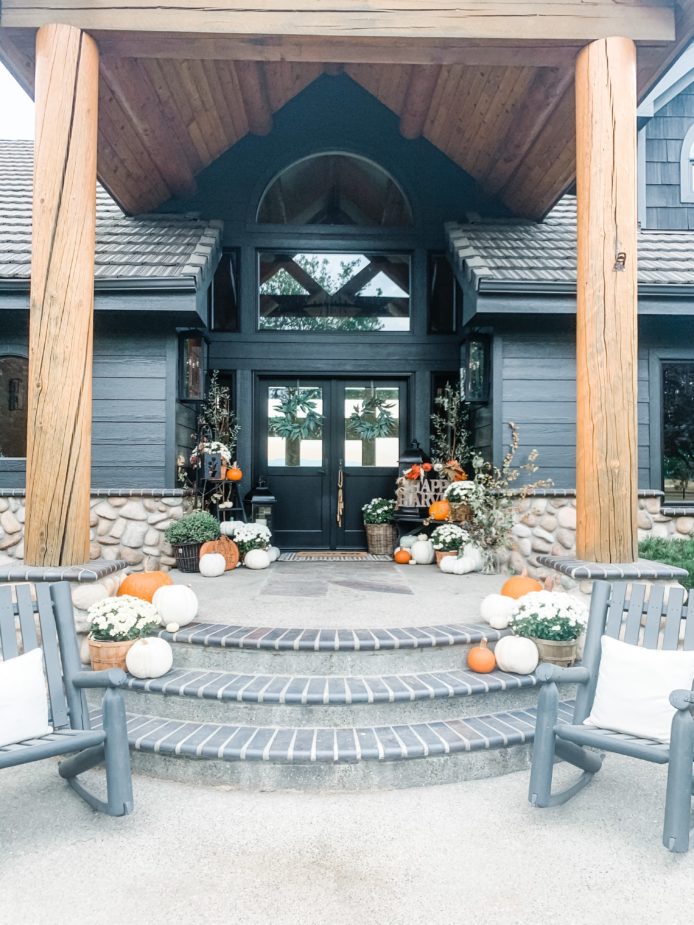
Mix your faux pumpkins with real ones in a display and enjoy the elegance they bring – so beautiful!
I find they make great bases for stacks as well, so you want to consider NOT putting the stem back on so you can stack other pumpkins on top of it. Faux pumpkins are flat, and this is not the case with real ones, so take advantage of it!
Watch My Video Tutorial On My IGTV
To save this project for later, pin the image below

Comments